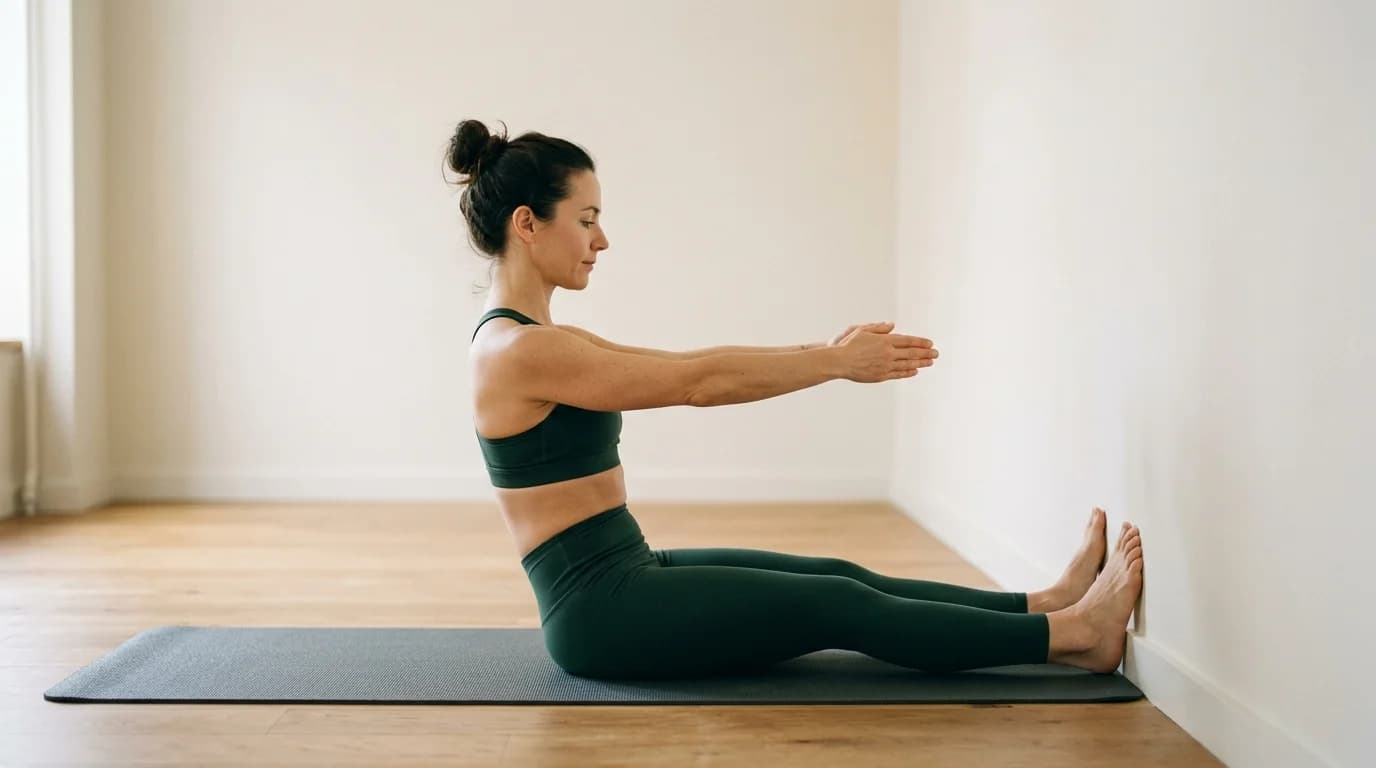
Exercise
Supported roll-back pattern using a studio wall for spinal articulation feedback and core control.
Setup instructions
Sit on the mat facing a studio wall with the knees bent and feet flat on the floor. Place the hands lightly on the wall at shoulder height for support. Position the feet hip-width apart and sit tall through the spine. Engage the core gently before rolling back.
Breathing cues
Exhale to roll back. Inhale at the bottom. Exhale to roll up.
Movement steps
- 1Inhale to prepare in seated.
- 2Exhale to tuck the pelvis and roll the spine back one segment at a time.
- 3Pause at a comfortable range with the low back supported.
- 4Inhale to hold briefly at the bottom.
- 5Exhale to roll back up with control, stacking the spine from the pelvis through the crown.
Common mistakes
Dropping straight back from the hips instead of articulating; pulling aggressively on the wall; letting the knees splay apart; holding the breath; rushing the return.
Safety notes
Keep the range small at first. Stop if dizzy, neck tension, or sharp back discomfort appears.
Connections
Muscles worked
Goals supported
Related exercises
FAQs
Is Wall Roll Back suitable for beginners?
Yes. The wall provides feedback during spinal articulation and the range can stay small. Move slowly in and out of the rolled position.
What muscles does Wall Roll Back work?
The deep core muscles guide spinal flexion and return while the hip flexors assist the seated position and the upper back maintains organisation.
What is Wall Roll Back good for?
It builds accessible roll-back control and spinal articulation before mat roll-back, roll-up, and reformer abdominal work.
Plan your class
Turn saved exercises into a class plan
Save exercises from the library, then build a reformer class plan with cues, timings, reps, and teaching notes.