Exercise
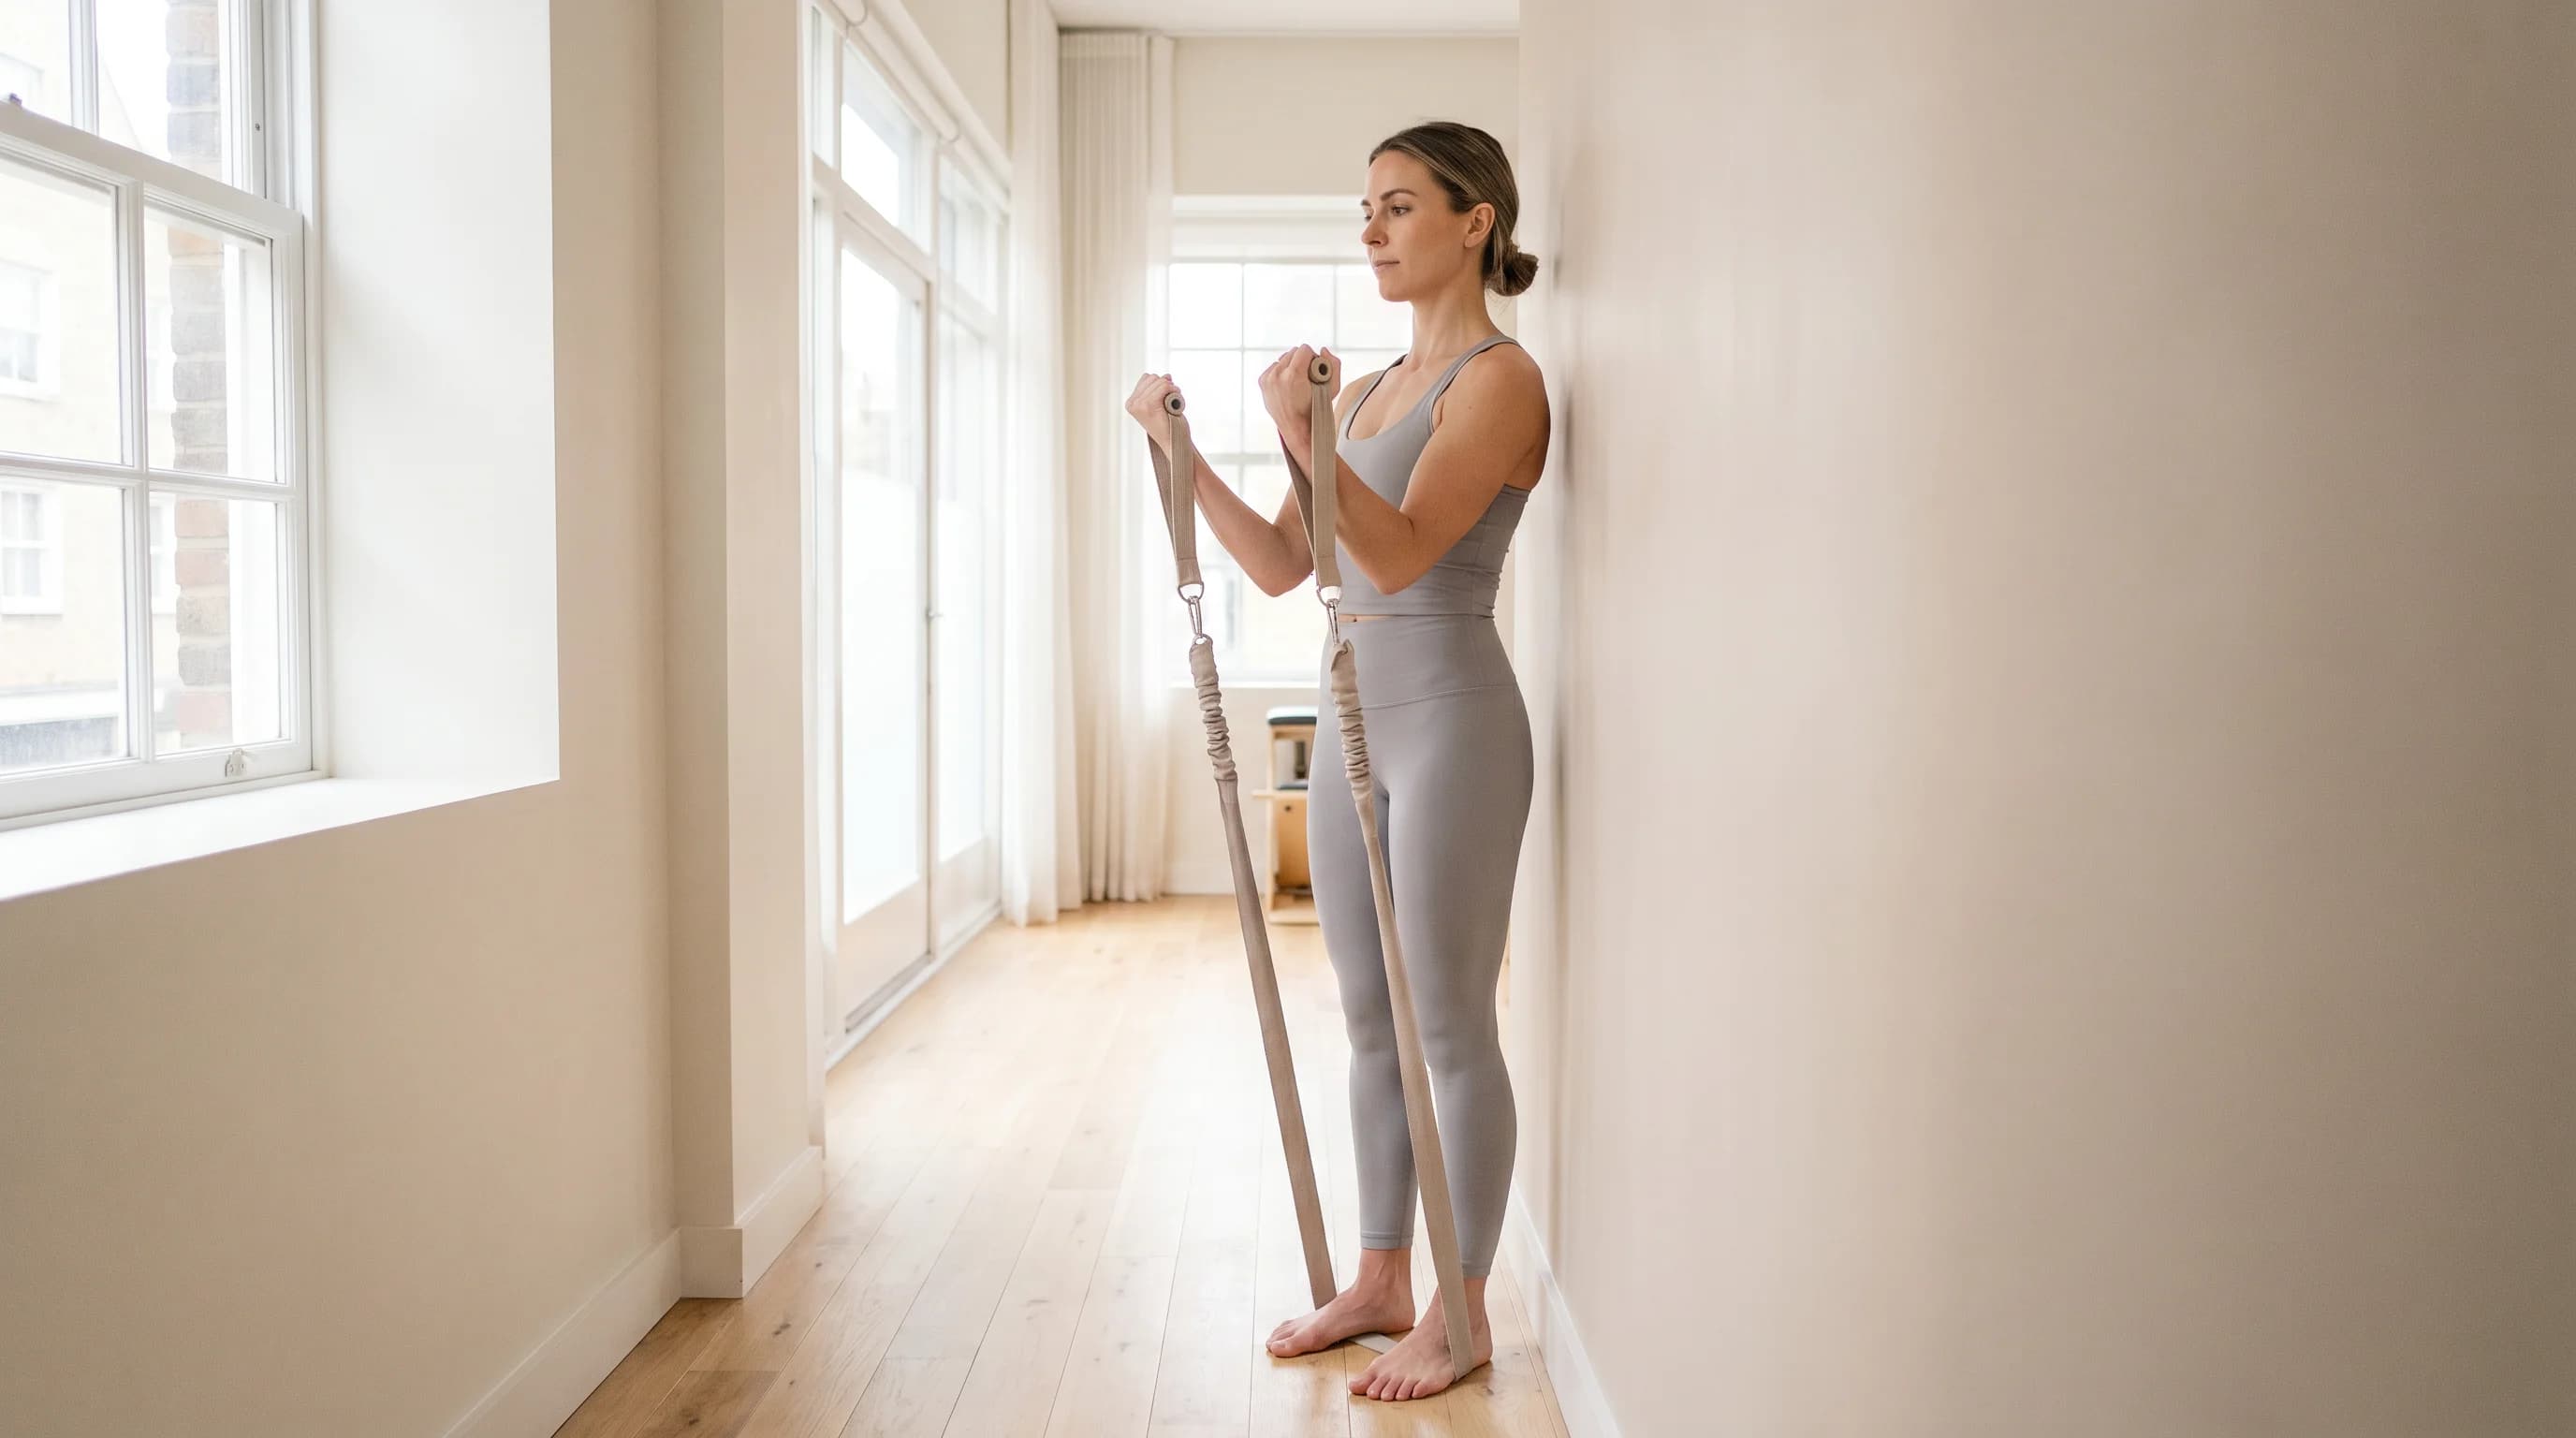
Biceps curl with a resistance band anchored low at a studio wall for accessible upper-arm strengthening.
Setup instructions
Anchor a resistance band securely to a studio wall at a low point. Stand facing the anchor and hold one end of the band in each hand with palms facing forward. Step back until the band has light tension with the arms extended. Stand tall with feet hip-width apart and the core gently engaged.
Breathing cues
Exhale to curl. Inhale to lower.
Movement steps
- 1Inhale to prepare with the arms extended.
- 2Exhale to bend the elbows and curl the hands toward the shoulders.
- 3Keep the upper arms steady beside the body.
- 4Inhale to lower the hands with control.
- 5Repeat without swinging the trunk.
Common mistakes
Swinging the body for momentum; letting the elbows drift forward; shrugging the shoulders; using excessive band tension; holding the breath.
Safety notes
Use a band that allows full curls with control. Stop if elbow or wrist discomfort appears.
Connections
Muscles worked
Goals supported
Equipment needed
Related exercises
FAQs
Is Wall Resistance Band Biceps Curl suitable for beginners?
Yes. The low wall anchor makes the curling pattern easy to learn and band tension is easy to scale by stepping closer or farther from the wall.
What muscles does Wall Resistance Band Biceps Curl work?
The biceps drive the curl while the shoulders and core maintain upright trunk organisation.
What is Wall Resistance Band Biceps Curl good for?
It builds front-arm strength that supports mat and reformer arm work while encouraging an upright trunk.
How is Wall Biceps Curl different from props Resistance Band Biceps Curl?
The wall version anchors the band at a low wall point, while the props version stands on the band with the feet.
Plan your class
Turn saved exercises into a class plan
Save exercises from the library, then build a reformer class plan with cues, timings, reps, and teaching notes.